Paper Snowflake

We are still
keeping with the Christmas theme!!
Serena raced
home from school to show me how to make these snowflakes as they made them at
school – Thanks Mr McGuirk we love them!!


They are
'easy peasy' to make and I think they look terrific!!
All you need
is 7 square pieces of paper some scissors, sticky tape and stapler.

First step
was to fold the paper from corner to corner to make a triangle, then fold in
half again so it’s now a smaller triangle. (you need to do this with all 7
pieces of paper!!)


Hold the
triangle so that the two loose ends are at the bottom and the folded edge is at
the top.
With the
scissors carefully cut 4 lines/strips from the loose end to almost the folded
end. (again do this with each piece of paper)

Now open up
the squares, fold the two inside strips/diamond together and tape.


Flip over
the square and join the next two strips/diamond together. Keep flipping and taping all
the strips/diamonds together.


They should
look like this-


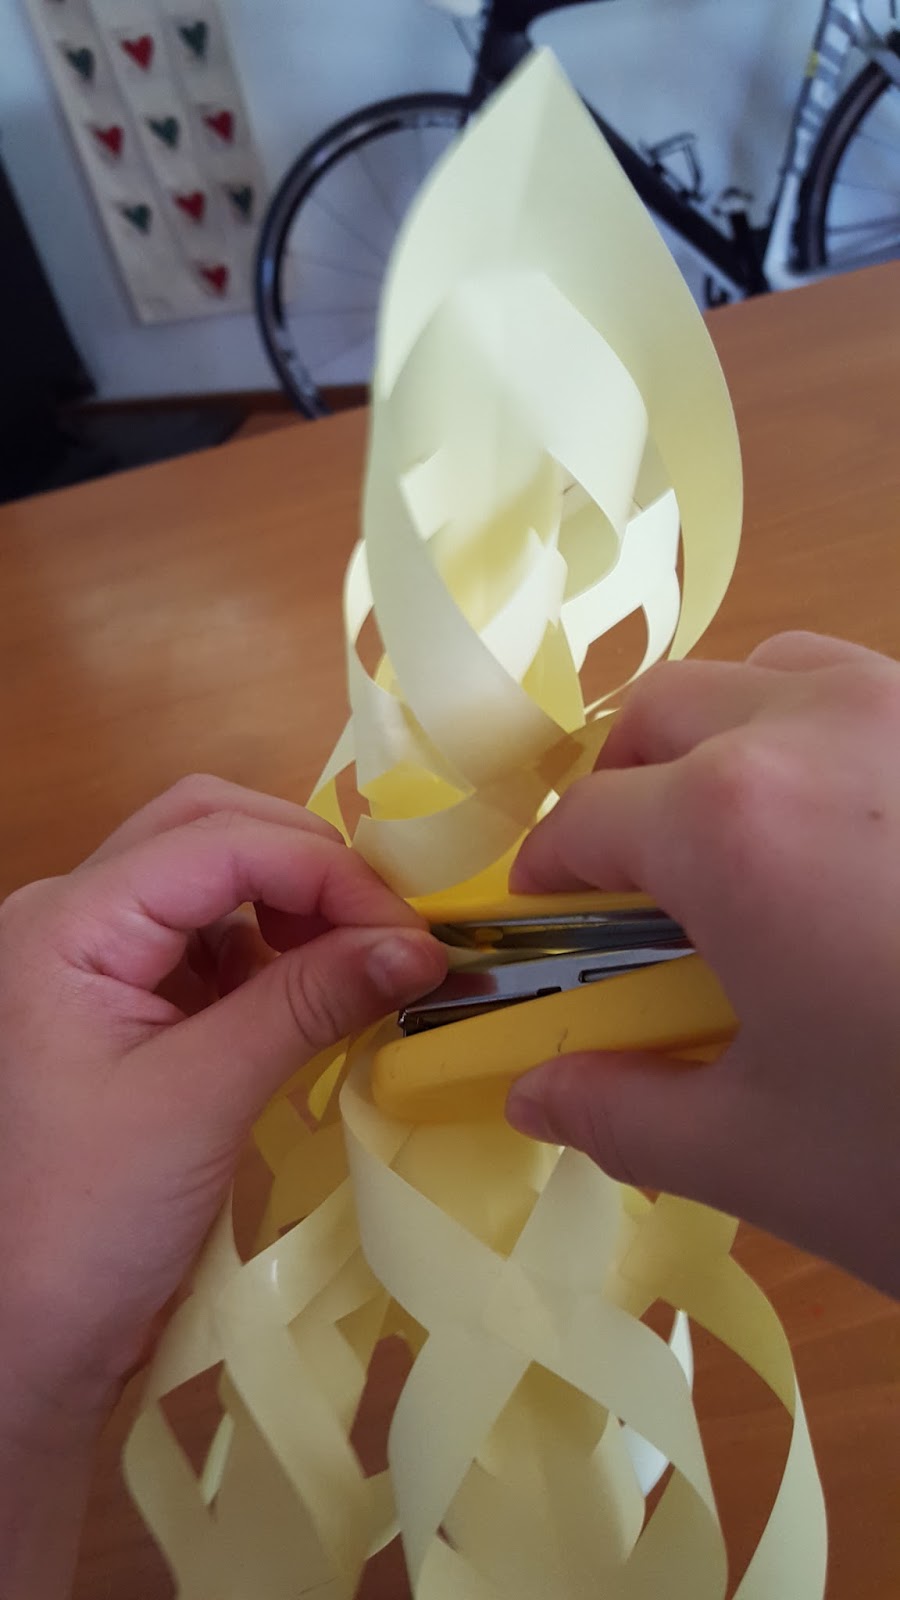
Now gather
all the bottom pointed strips/diamond ends together and staple. (that should now be in the
centre of the snowflake)


How
effective do these look!!


No comments:
Post a Comment