Tuesday, 15 December 2015

Feather Hair Clips


Feather Hair Clips


These are cute easy to do feather hair clips, or you can use them to jazz up bags or anything!!


All you need are feathers, hair clips (both for sale at my Esty shop, link is below), leather, ribbon or string some coloured markers and hot glue gun.


The first step was to colour patterns onto the feathers with the markers. (Make sure you have some scrap paper underneath as the markers colour will go through the feather)


We then used the hot glue gun to put some glue onto the bottom stem of the feather and tightly wrapped the leather around it. The leather we found was a bit stiff so I suggest you use ribbon or string instead!!


We cut the leather strap to the length we wanted (similar length to her hair) and then glued the end onto a hair clip.


How easy was that and they look so bright, fresh and colourful too!!


Thursday, 10 December 2015

Paper Snowflake


Paper Snowflake 


We are still keeping with the Christmas theme!!

Serena raced home from school to show me how to make these snowflakes as they made them at school – Thanks Mr McGuirk we love them!!


They are 'easy peasy' to make and I think they look terrific!!

All you need is 7 square pieces of paper some scissors, sticky tape and stapler.


First step was to fold the paper from corner to corner to make a triangle, then fold in half again so it’s now a smaller triangle. (you need to do this with all 7 pieces of paper!!)


Hold the triangle so that the two loose ends are at the bottom and the folded edge is at the top.

With the scissors carefully cut 4 lines/strips from the loose end to almost the folded end. (again do this with each piece of paper)


Now open up the squares, fold the two inside strips/diamond together and tape.


Flip over the square and join the next two strips/diamond together. Keep flipping and taping all the strips/diamonds together.


They should look like this-


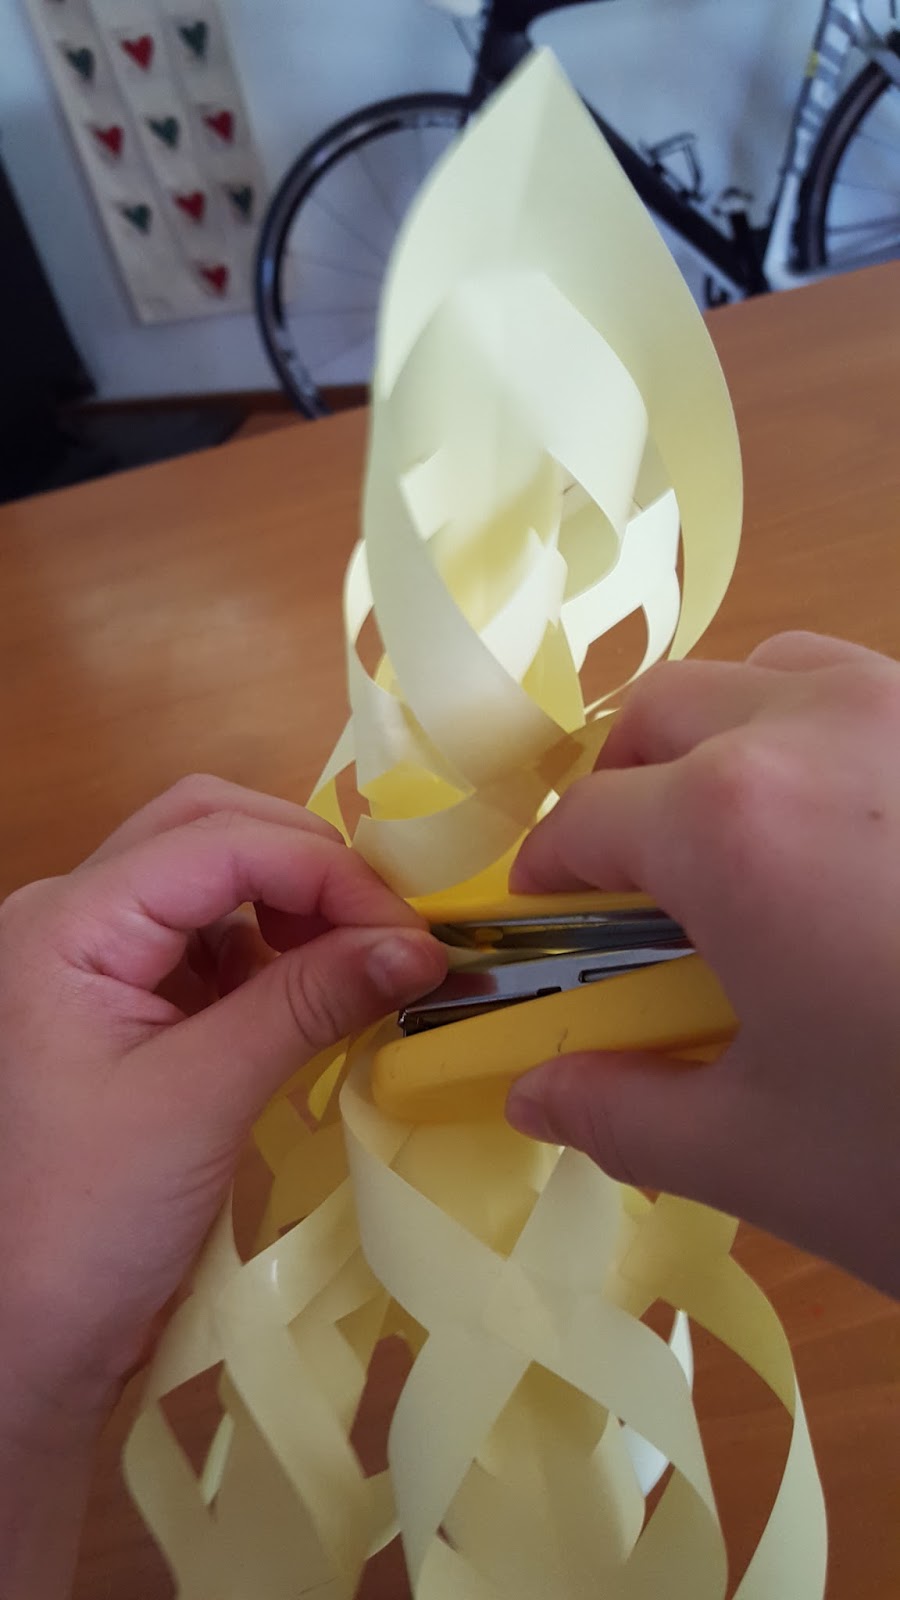
Now gather all the bottom pointed strips/diamond ends together and staple. (that should now be in the centre of the snowflake)
 
The next step is a little bit fiddly but you gather the edge strip of 2 sections of the snowflake and staple them together. (We found it easiest having the snowflake lying on the table, you can see which ones need to be staple together better) continue stapling the snowflake sections together until each one is joined to the one next to it.


How effective do these look!!
 

Tuesday, 8 December 2015

VERY Easy Paper Butterflies


VERY Easy Paper Butterflies

For this project all you need is square paper, scissors and some glue.
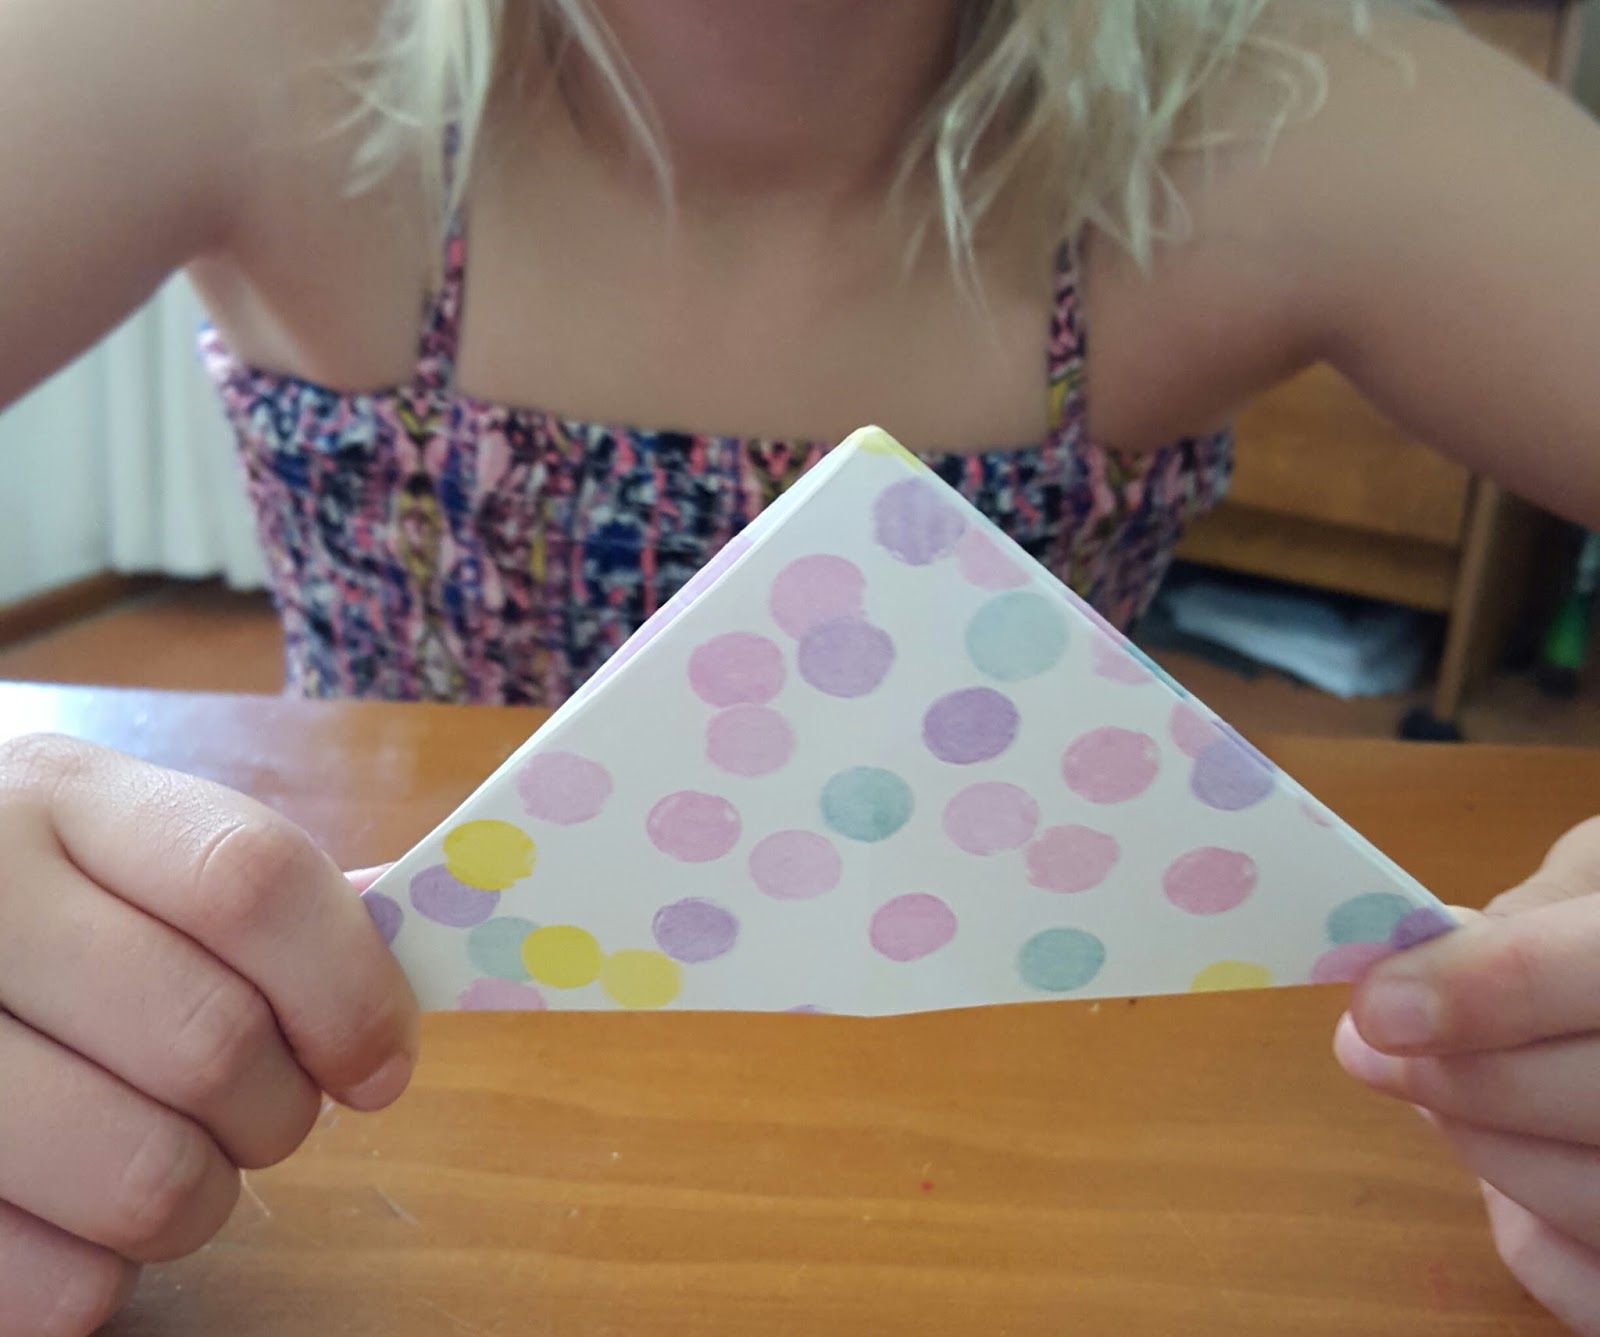
You need to fold the square paper from corner to corner to make a triangle, unfold it then do it again with opposite corners. Next fold it in half so it’s a rectangle, unfold and repeat it folding it the opposite side.


You should have your square paper looking like this with lots of folds:-

Next fold the paper in half so it’s a rectangle again. This next step is a bit hard to explain but I’ll give it a go …… You need to ‘push’ one end into/inside of the rectangle so there is a triangle at one end of the rectangle.
Then do the same to the other side. You now should have a triangle !!


Now fold the triangle in half and where all the ‘loose’ ends are, trim them into a rounded edge.


Open up the half fold so the triangle now have 2 rounded ends. Fold one side of these rounded ends into the middle.


Flip over and fold down a small section of the pointed end.
We put a little bit of glue on the inside of the little folded bit, then you bring that bit around the back to the front (the butterfly back will arch a bit) and glue the little triangle to the long base edge. We placed a peg onto it to keep it in place until it dries.


Once it dried we removed the peg and ……. We now have a butterfly !!


 We made so many of them that we decided to Blu Tack them all onto Serenas bedroom wall above her bed. 


The original pattern I found on this website http://www.foreverymom.com/kids-will-love-adorable-easy-paper-butterfly-craft-tutorial/