Sunday, 20 March 2016

Simple Paper Flowers

Simple Paper Flowers
 

 This is a very simple paper folding project.

All you need is a square piece of paper

Now fold the paper in half

Fold in half again the other way

Fold in half from corner to corner

Fold in half from the other corner to corner

It should look like this
 

Now push opposite sides inwards at the fold marks
 

You should have a big triangle now, Fold that in half at the centre fold line.
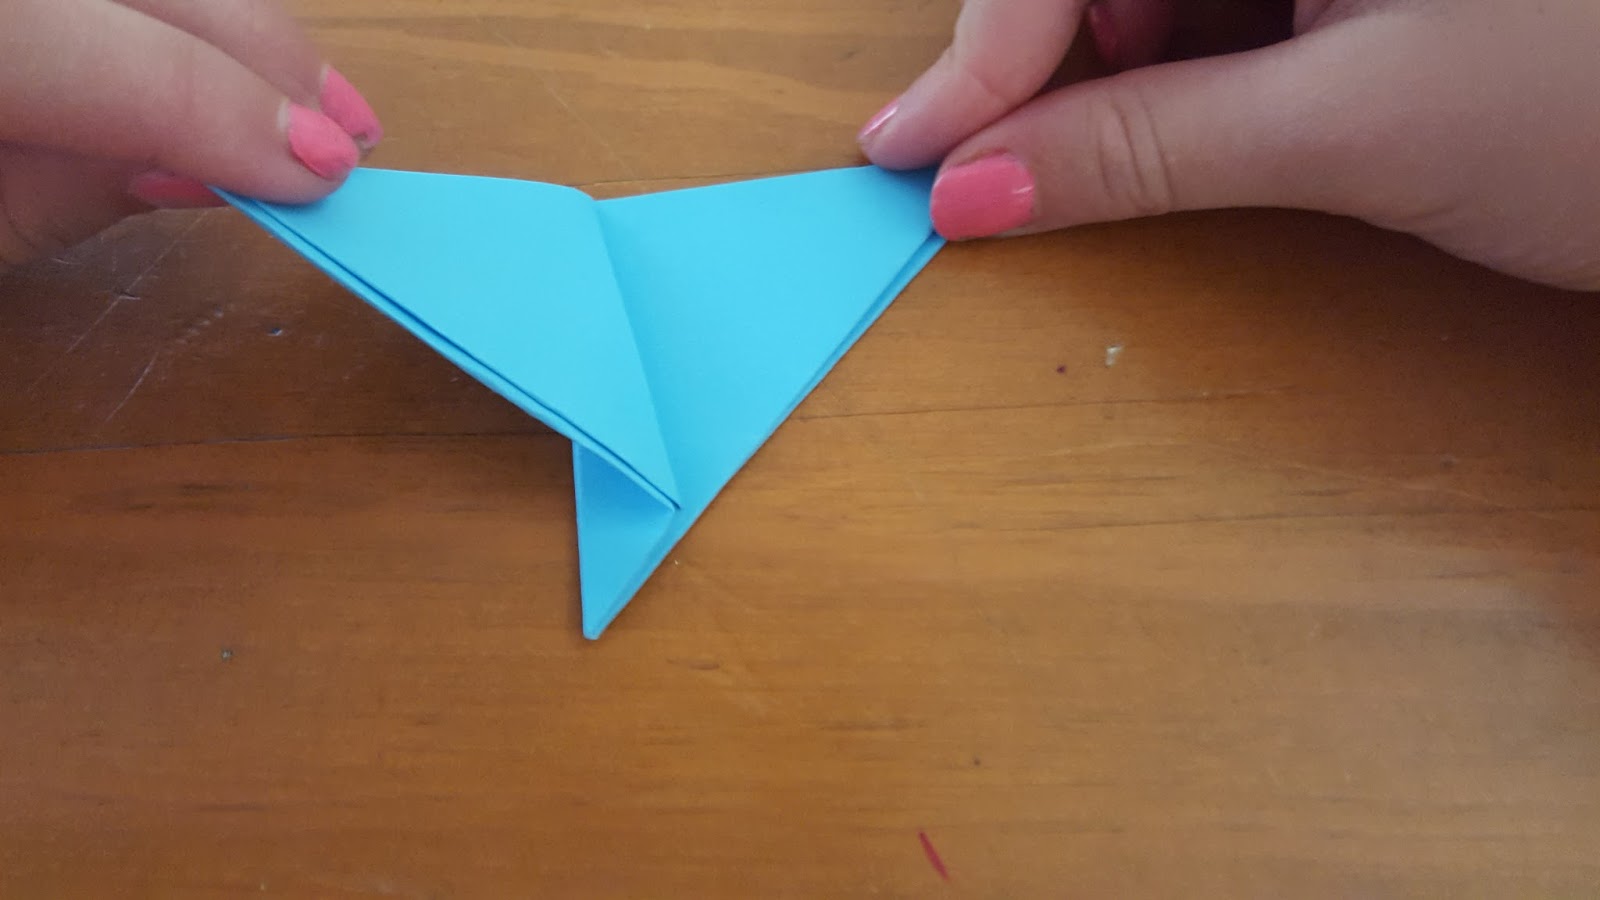
Fold 2 corners backwards (see picture)
 

Flip over and do the same on this side

You should now have a little stork to hold onto!!
 

Now put your finger inside the triangle shape flaps to open them up.
 

Done
 

How easy was that!!

How great do they look !!


Wednesday, 16 March 2016

Nail Polish Pens


Nail Polish Pens
 
Such a cool project!!

All you need is some empty old nail polish bottles, nail polish remover (for cleaning out the bottles!!) Pens, acrylic paint and Araldite
 In the first step we pulled the nail polish brush out from the lid, then cleaned the bottles. I found the best way to clean the bottles was to pour some nail polish into the bottles and shake it. I had to repeat that a few time for each bottle until clean.
Now we poured some acrylic paint into the bottles and again shaked it about until the whole inside of the bottles were covered in paint.
It took a few days to dry
With the pens we took it apart and placed the ‘head’ of the pen onto the nail polish bottle an measured the height

Then we cut the inside ink part to the right length
Now we placed the ink part back into the pen ‘head’
 
The last step was simply to glue the pen onto/into the nail bottles!!

 
Now your ready to write!!
 

Saturday, 12 March 2016

Stress Head Stress Balls


Stress Head Stress Balls

These are cute little stress balls - so useful for everyone!!
 
This is another very easy craft for anyone to do.

All you need is some balloons, cornflour (but any flour will work), a funnel, wooden spoon, scissors and marking pens.

The first step is to stretch the balloon in all directions

Now stretch the neck of the balloon over the neck of the funnel

Poor some cornflour into the funnel

Using the handle of the wooden spoon push the cornflour down into the balloon. This can take a little while and don’t be afraid to push the wooden spoon handle all the way so that the balloon shape changes.

Once there is enough cornflour into the balloon tie it off

Carefully cut the top little ring off the balloon

Now with sharp scissors cut lots of little slits into the balloon neck to make some ‘hair’ for our Stress Head!!

Now you can stretch the balloon any which way!!

We used the permanent markers to draw on funny faces.

How cool do they look!!

Serena is going to give one to her school teacher J

Wednesday, 9 March 2016

DIY Lipstick


DIY Lipstick


You only need 2 ingredients!!


A very easy project in making your own lipstick in whatever colour you want (Serena chose Black!! Lol).

The two ingredients are lip balm and eyeshadow. You will also need an empty lipstick container. You can purchase them at a bargain store or reuse the lip balm container.

 The first thing you need to do is empty the lip balm into a small container

Now scrap in the colour of eyeshadow you want your lipstick to be. Serena chose black

Nuke it in the microwave for approximately 20seconds

Stir. (You may need to nuke for a bit longer so it is a runny mixture.) Keep stirring until the eyeshadow is mixed through evenly.

Pour the mixture into the empty lipstick container. Keep the lid off until it has cooled.


Finished.


Black was not my choice of colour but the homemade lipstick still looks pretty cool don’t you think!!